

Table of Contents
Introduction
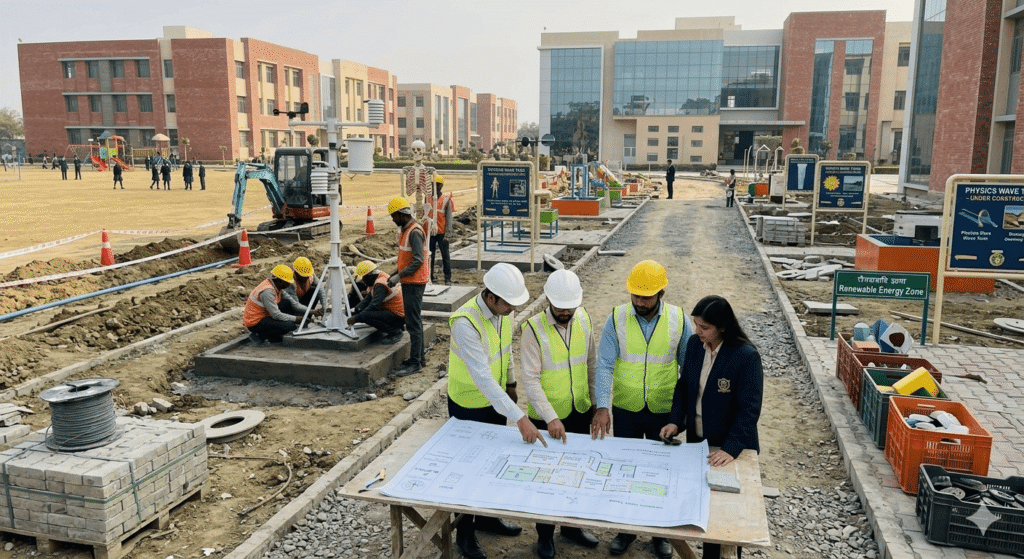
Understanding the Science Park Equipment Installation Process is essential for schools and educational institutions planning a successful project. While many institutions focus only on purchasing models, the real success of the project depends entirely on proper layout design, foundation quality, and correct setup.
Poor installation often creates problems such as:
- Unsafe equipment placement
- Reduced educational value
- Maintenance challenges
- Space utilization issues
- Premature equipment damage
A professionally executed science park can remain functional for many years while improving student engagement and learning outcomes.
This guide explains the complete science park equipment installation process from initial planning to final project handover.
Step 1: Site Assessment and Project Planning
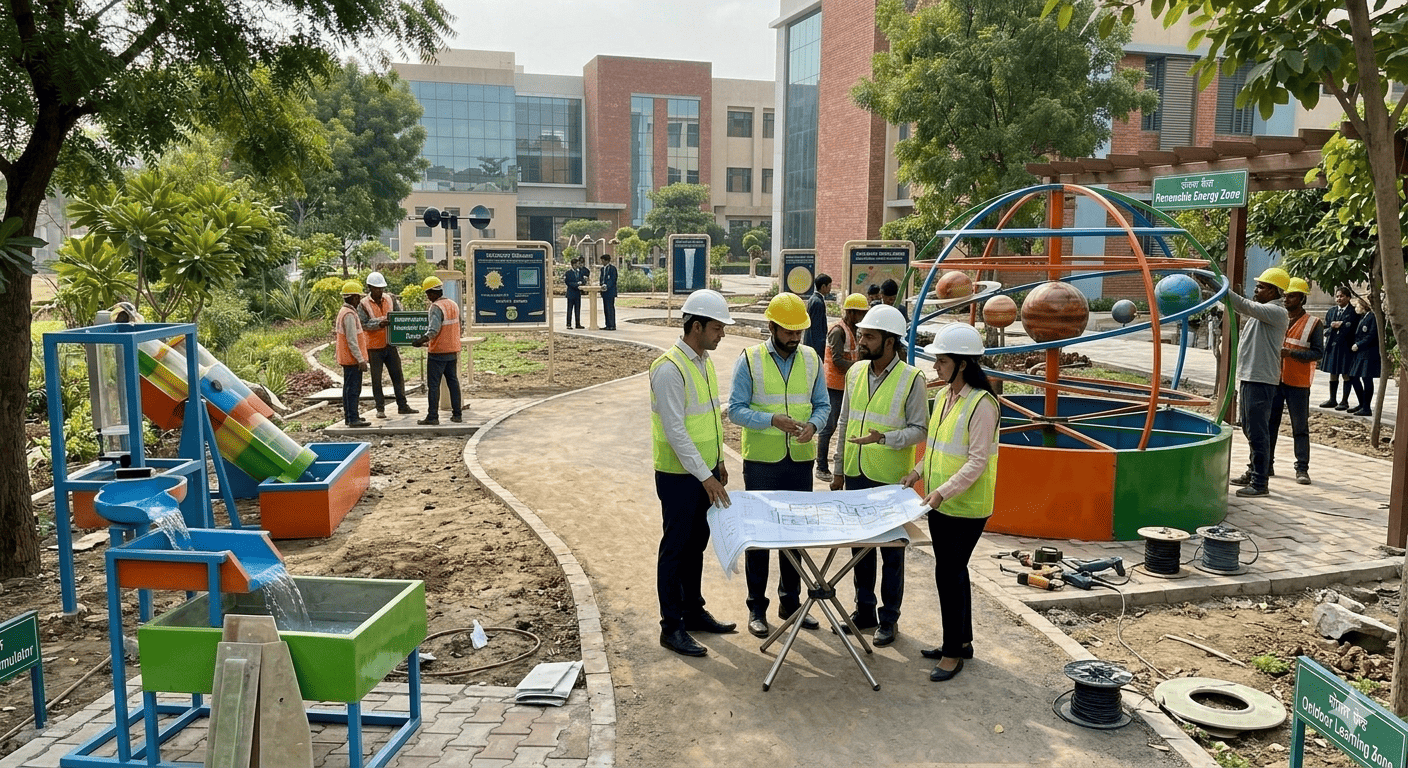
Every successful installation begins with a detailed site assessment.
The project team should evaluate:
- Available land area
- Ground conditions
- Student movement patterns
- Future expansion possibilities
- Safety requirements
Schools often make the mistake of selecting equipment before evaluating the site.
This usually creates layout challenges later.
Key Questions
- How many students will use the science park?
- What age groups will access it?
- Is future expansion planned?
- What educational objectives must be achieved?
Proper planning reduces project costs and improves learning effectiveness.
Step 2: Layout Design and Equipment Selection
After site evaluation, the next stage is layout planning.
A science park should be organized into educational zones.
Recommended Layout Structure
| Zone | Equipment Category |
|---|---|
| Physics Zone | Open-air physics models |
| Optics Zone | Reflection and refraction exhibits |
| Mathematics Zone | Geometry and symmetry models |
| Energy Zone | Renewable energy demonstrations |
| Activity Zone | Interactive educational exhibits |
This structure improves learning flow.
It also helps students move safely between exhibits.
Equipment Selection Criteria
Choose equipment based on:
- Curriculum relevance
- Available space
- Durability
- Maintenance requirements
- Budget
Many institutions combine science park equipment with FRP multiplay systems and educational activity areas.
This creates a more engaging learning environment.
Step 3: Foundation and Civil Work Preparation
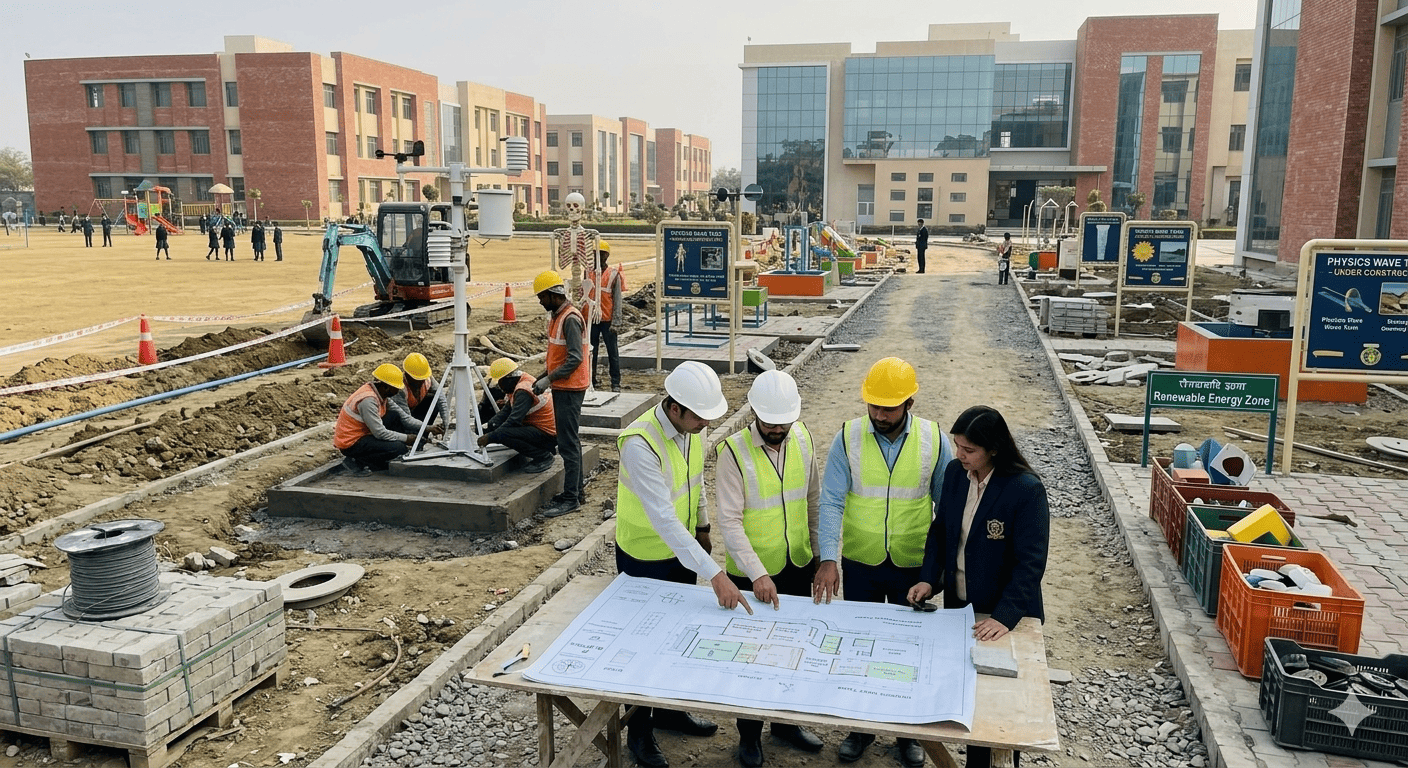
Before the actual Science Park Equipment Installation Process begins, foundation work must be completed.
Foundation quality directly affects structural stability.
Typical Civil Activities
- Ground leveling
- Excavation
- PCC work
- Anchor placement
- Drainage planning
Improper foundation preparation often causes long-term maintenance issues.
The project team should ensure all foundations match manufacturer specifications.
Common Mistakes
Avoid:
- Uneven ground preparation
- Incorrect foundation depth
- Poor drainage planning
- Misaligned anchor points
Quality civil work protects the entire investment.
Step 4: Manufacturing and Quality Inspection
While site preparation is underway, equipment manufacturing begins.
Professional manufacturers follow a structured production process.
Quality Checks Include
- Material inspection
- Dimensional verification
- Surface finishing checks
- Structural testing
- Assembly verification
Manufacturers using FRP materials should verify:
- Resin quality
- Fiber reinforcement quality
- UV resistance
Reliable B2B park equipment suppliers maintain documented quality control procedures.
Step 5: Transportation and Site Delivery
Transportation planning is often underestimated.
Science park equipment must arrive without damage.
Key considerations include:
- Packaging quality
- Loading procedures
- Transit protection
- Site accessibility
Large educational projects may require phased deliveries.
Proper logistics planning prevents installation delays.
Step 6: Science Park Equipment Installation Process
This is the most visible stage of the science park equipment installation process.
Installation should be performed by trained technicians.
Installation Activities
- Positioning equipment
- Anchor fixing
- Structural assembly
- Alignment checks
- Safety inspections
Each model should be installed according to manufacturer recommendations.
Special attention should be given to:
- Open-air physics models
- Interactive exhibits
- Rotating equipment
- Student-accessible structures
Step 7: Safety Inspection and Testing
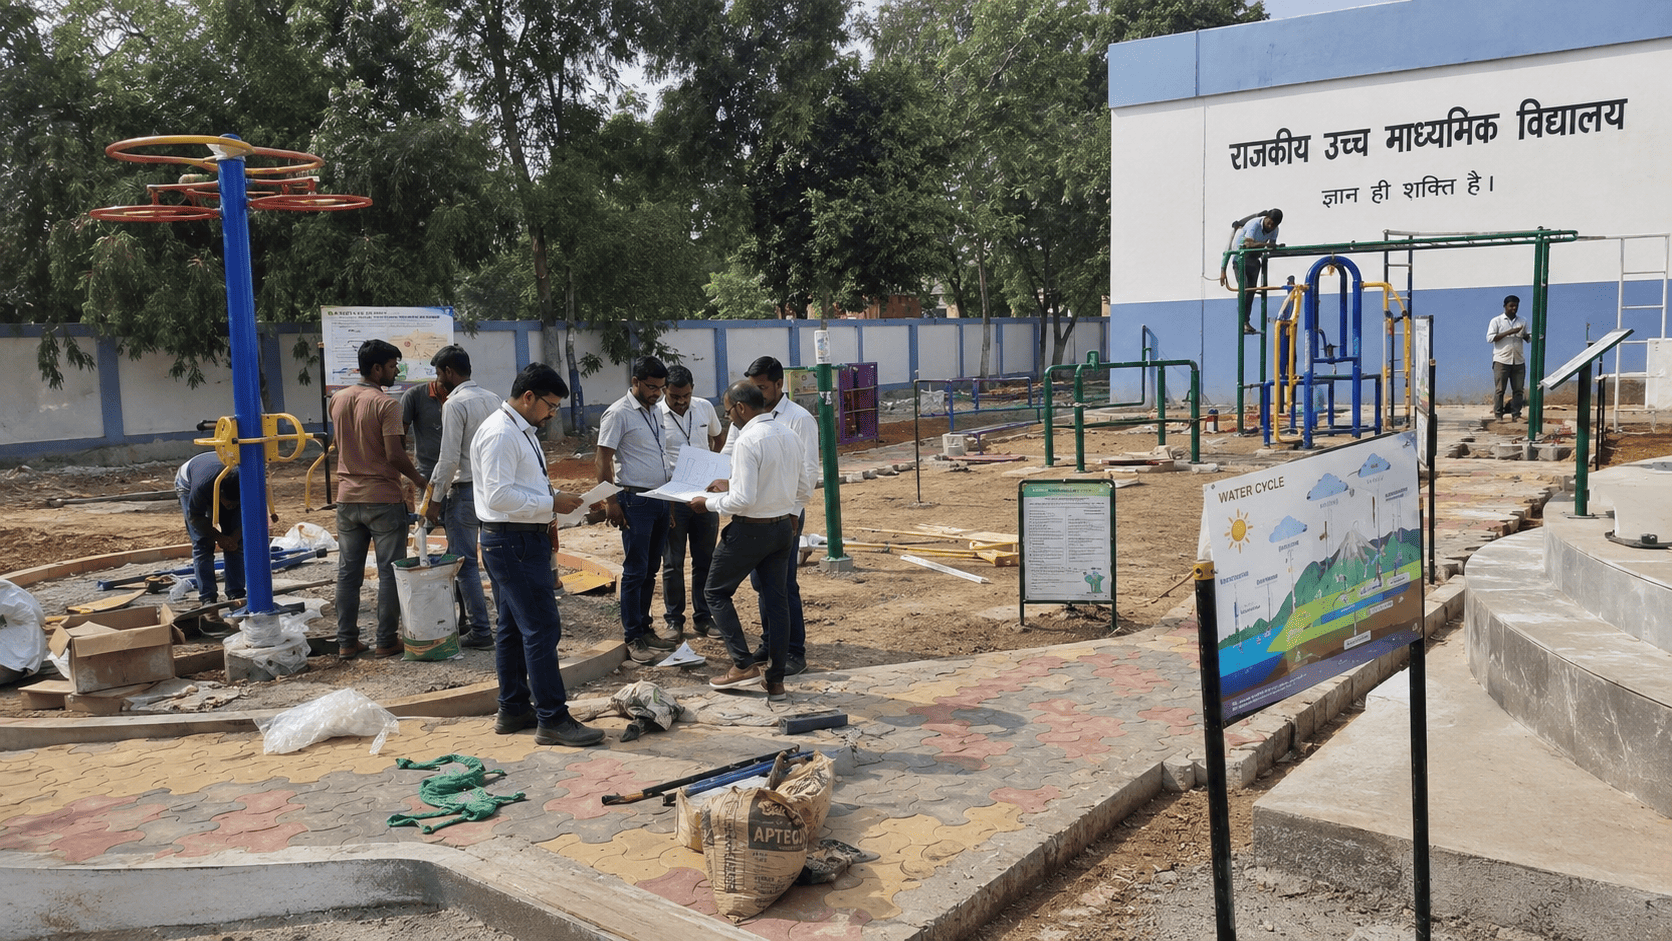
Installation should never be considered complete without testing.
Every model should undergo:
Functional Testing
Verify:
- Moving components
- Rotational systems
- Demonstration mechanisms
Safety Testing
Check:
- Sharp edges
- Loose connections
- Structural stability
- Surface finishing
Educational Validation
Ensure:
- Models demonstrate intended concepts
- Signage is accurate
- Learning objectives are clear
This stage is critical for school infrastructure development projects.
Step 8: Project Handover and Staff Training
After successful testing, the project moves into handover.
The manufacturer should provide:
- Product documentation
- Maintenance guidelines
- Warranty information
- Training support
Training helps schools maintain equipment properly.
It also improves long-term project success.
Why Bravia Fibrotech
Bravia Fibrotech provides end-to-end educational infrastructure solutions for schools, government institutions, contractors, and municipalities.
Core offerings include:
- Science Park Equipment
- Playground Equipment
- FRP Products
- Outdoor Gym Equipment
The company supports projects through:
- Site planning
- Layout development
- Manufacturing
- Installation
- Technical consultation
Whether the requirement involves open-air physics models or a complete educational science park, Bravia Fibrotech focuses on practical and durable project execution.
Frequently Asked Questions
How long does a science park installation take?
Most projects take between 2 and 8 weeks depending on size and complexity.
What is the ideal area for a school science park?
Many schools start with 1,000–3,000 square feet and expand later.
Is FRP suitable for science park equipment?
Yes. FRP provides excellent weather resistance and low maintenance.
Do science parks require regular maintenance?
Yes. Periodic inspections and cleaning help maintain performance.
Can science parks be installed in government schools?
Yes. Many government institutions and municipalities invest in science parks as part of educational infrastructure development.
“Following a structured Science Park Equipment Installation Process ensures long-term safety and durability for school projects.”
Request a Catalog or Factory-Direct Quote
Bravia Fibrotech is a leading manufacturer and supplier of Science Park Equipment, Playground Equipment, FRP Products, Outdoor Gym Equipment, Educational Park Infrastructure, and Customized Learning Solutions for schools, government institutions, municipalities, smart city projects, and infrastructure contractors across India.
Our solutions include:
- Science Park Equipment Manufacturing
- Playground Equipment Supply & Installation
- FRP Educational Models
- Open-Air Physics Models
- Outdoor Science Lab Equipment
- FRP Multiplay Systems
- Outdoor Gym Equipment
- Turnkey Educational Infrastructure Projects
Whether you are planning a school science park, government educational project, municipal learning zone, or public infrastructure development, our team can assist with planning, manufacturing, installation, and technical consultation.
Website: https://www.braviafibrotech.in
Contact: +91 9145240111
+91 7517077511
Email: contact@braviafibrotech.in
Request a product catalog, project references, technical specifications, and a factory-direct quote today.